Understand the CSV email workflow
A CSV is a plain-text table in which each row represents a contact and each column represents a field. Email platforms commonly use it to import addresses and optional values such as first name, company, locale, or customer status.
The file is only a transport format. Permission, suppression handling, secure storage, and message quality still determine whether the campaign is responsible and useful.
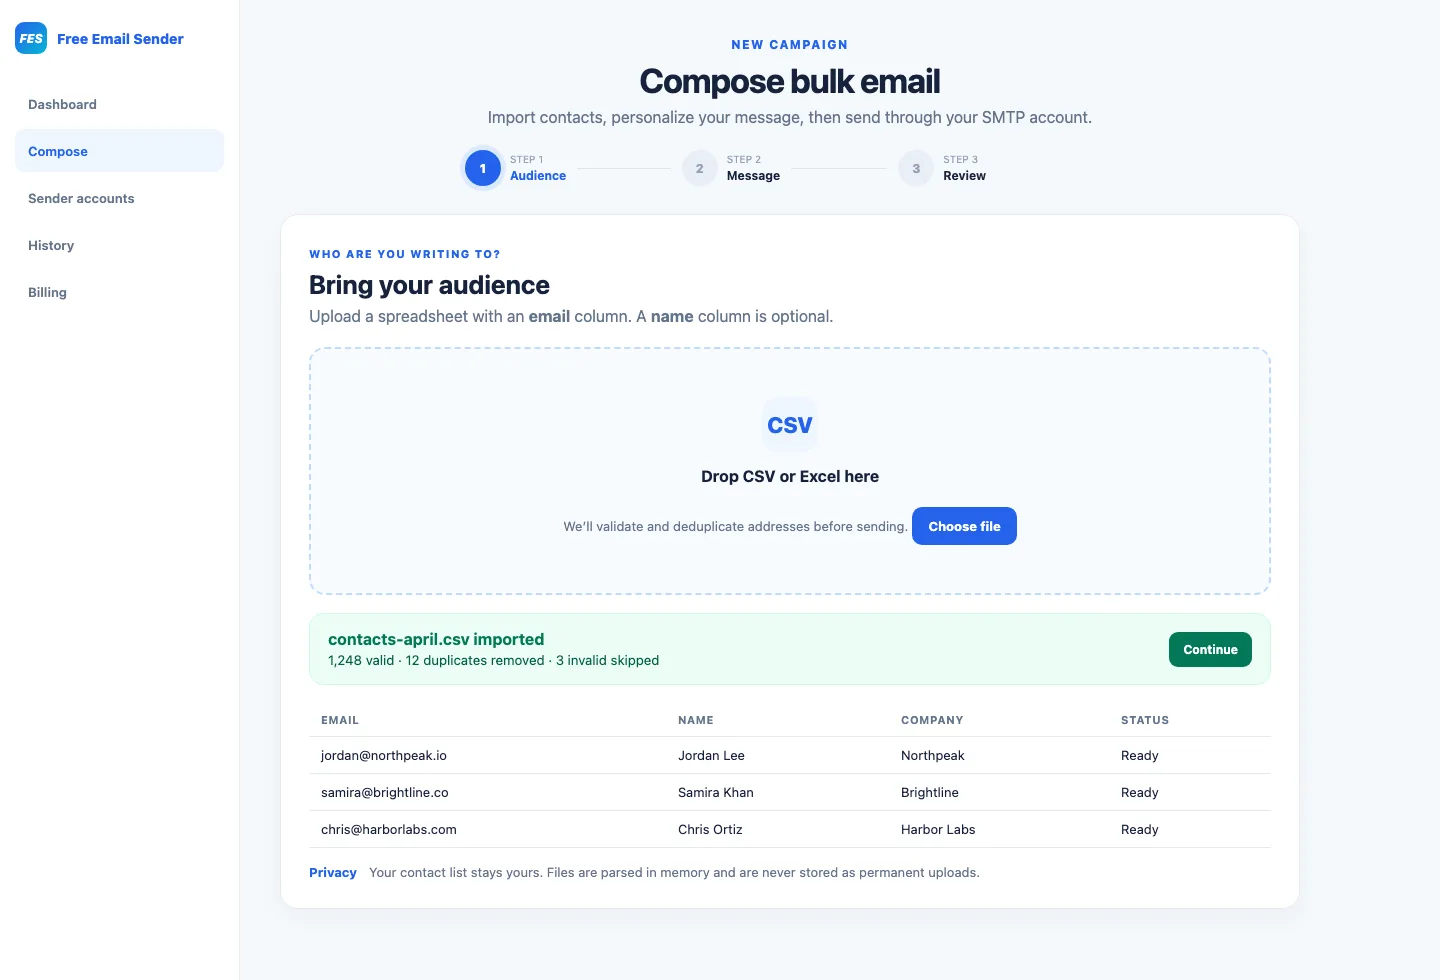
Create a simple, dependable schema
Start with a header row and one contact per row. Use short, unique column names and keep each value in its intended column. Export as UTF-8 so accented names and non-English text survive the conversion.
- Required: email
- Common optional fields: first_name, company, language
- Operational fields: consent_source, segment, signup_date
- Avoid storing secrets or unnecessary sensitive data.
Confirm permission and apply suppressions
Before import, verify that the planned message matches what contacts agreed to receive. A customer transaction, support request, or collected business card does not automatically authorize every type of marketing campaign.
Compare the upload with your master unsubscribe, complaint, and hard-bounce suppressions. Apply relevant legal and contractual requirements for the sender and recipient locations, and seek professional advice when obligations are unclear.
Clean and validate each row
Trim spaces, normalize obvious casing issues, remove blank rows, and deduplicate on a normalized address. Basic syntax validation can catch missing domains or malformed values, but it cannot prove that a mailbox belongs to the intended person.
Do not silently guess ambiguous addresses. Place questionable rows in a review file and preserve the original export so changes remain auditable.
Map fields and define safe fallbacks
Map each CSV header to the correct campaign field. Preview multiple rows, including records with missing values, long names, punctuation, and international characters.
Every personalization token should have an appropriate fallback. If first_name is empty, a neutral greeting is better than exposing a raw token or inserting the wrong field.
- Escape imported values before inserting them into HTML.
- Do not allow CSV data to control arbitrary links or markup.
- Keep personalization proportional to recipient expectations.
Test privacy, content, and delivery settings
Send individual test messages to controlled addresses rather than placing the imported list in To, CC, or BCC. Check that each recipient sees only their own address and approved personalization.
Review the sender, subject, links, mobile layout, plain-text version, unsubscribe process, SMTP limits, and reply mailbox. Testing should use representative rows without unnecessarily sharing real contact data.
Send, reconcile, and retain responsibly
Launch at a pace supported by the sending provider and monitor row-level results. Separate temporary errors from permanent failures, and do not repeatedly retry invalid addresses.
Reconcile unsubscribes and bounces back to the source system so the next export is accurate. Delete temporary files when they are no longer required, restrict access, and follow the organization’s retention policy.
- Record the campaign and import source.
- Update the central suppression list promptly.
- Protect exported CSV files at rest and in transit.